
Last Updated on August 14, 2023 by Christopher G Mendla
Streamlining the process of social media scheduling can save valuable time and effort. With the right tools, like Chatbots and Kiopi, you can make this workflow efficient and effective. In this guide, we’ll walk you through the process, step-by-step.

1. Choose Your Social Media Scheduler: Why Kiopi?
Kiopi stands out for its user-friendly interface and diverse scheduling options. However, the beauty of this workflow is that it’s adaptable. If you have another scheduler of preference, simply swap it out in the steps that follow.
If you are posting to multiple social media accounts (platforms), you want to deactivate all but the Social media you want to post to. For example, I have about 15 social media accounts for four websites. In this case, I only want to post to my LbiViews accounts. You can easily deactivate and reactivate accounts. This is the current functionality as of August 2023.
I purchased the $300/year plan from Kiopi after a trial run.

2. Preparing Your Content: The WordPress Approach
It’s assumed you’re using WordPress for content creation:
- Stay Organized with Windows: Instead of using full screen, keep your WordPress window in a size that’s easy to manage. This allows for smooth multitasking especially when you drag an image from your WordPress site to Kiopi
- Grabbing the Link: Once your article is ready, right-click on the article title to copy the link. This link will be crucial for the next steps.
3. ChatGPT to the Rescue: Crafting Perfect Social Media Posts
Now, here’s where ChatGPT comes into play:
Version Matters: Given the constraints of ChatGPT 4.x, it’s suggested to use version 3.5 for this workflow. V4 has limits as to the amount of posts in a given time frame. For example, the current restriction is 50 message per 3 hour period.
Feed the Link: Paste the copied WordPress link into ChatGPT. This will be the base for the bot to generate a relevant social media post.
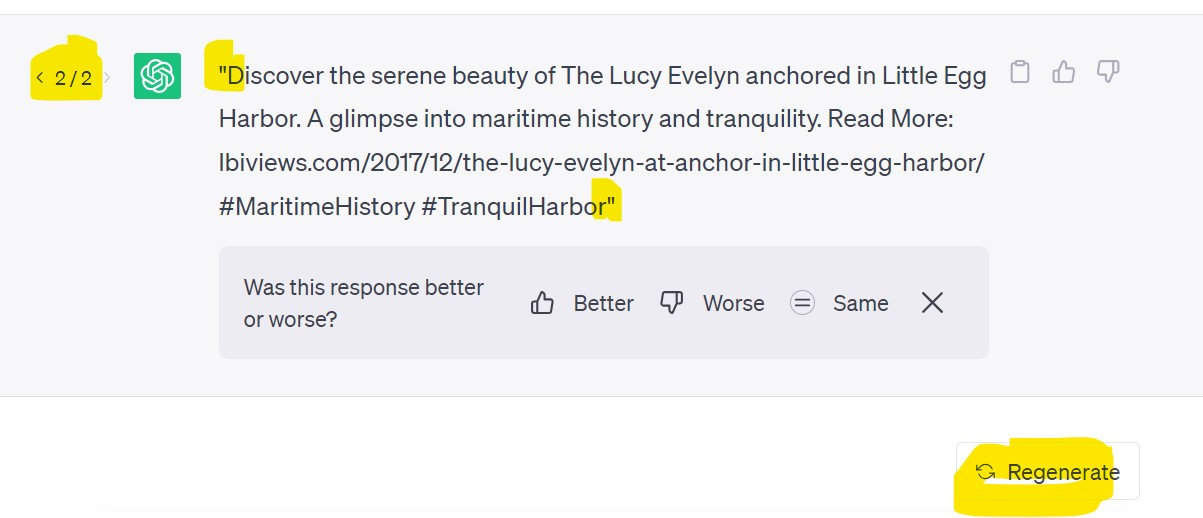
Get the Perfect Post: If the generated post is enclosed in quotes, simply copy the content without including them. If the post doesn’t meet your expectations, ask ChatGPT to regenerate. Remember, you can always scroll back to review previous generated posts. You can also remove any generated emoticons/icons.
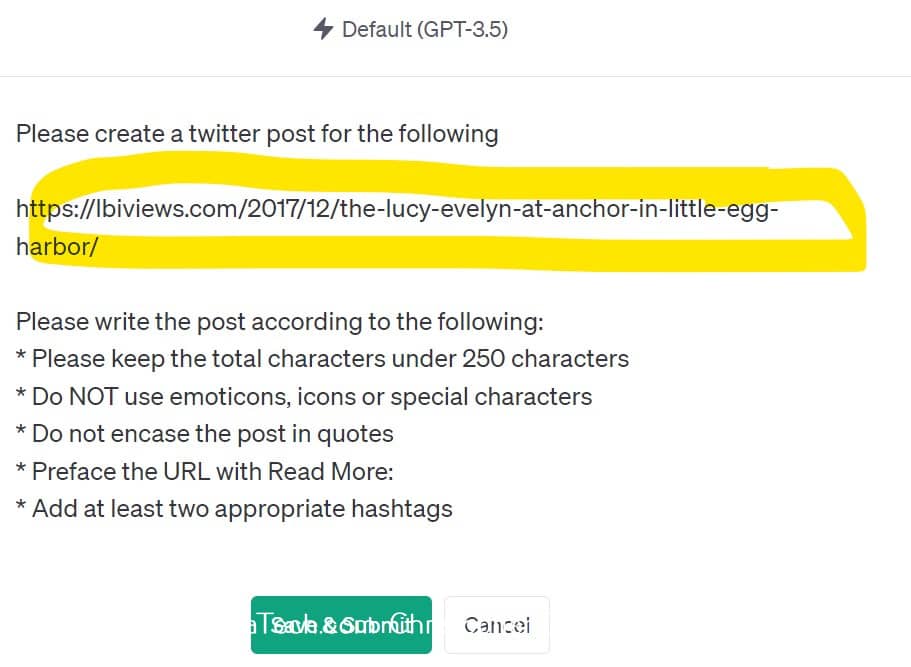
The following is the prompt I am currently using. NOTE – Do not enclose your URL in quotes. I had to do that here or WordPress insists on embedding the link
Please create a twitter post for the following
‘https://lbiviews.com/2017/12/the-lucy-evelyn-at-anchor-in-little-egg-harbor/’
Please write the post according to the following:
* Please keep the total characters under 250 characters
* Do NOT use emoticons, icons or special characters
* Do not encase the post in quotes
* Preface the URL with Read More:
* Add at least two appropriate hashtags
Notes
- This ‘template’ can be reused by simply pasting in your new link. Make a note of the ChatGPT title so you can find the message for future use.
- ChatGPT will sometimes go over the word count which is an issue with Twitter. This happens if you have a long URL. You can regenerate or manually shorten the resulting post
- The generated emoticons seem to get translated to ‘?’ with my platform. That is why I specify ‘no emoticons’
- Kiopi will ignore the post if it is in quotes. They are simple enough to remove.
- You will probably need to edit the post to put the URL on it’s own line. That seems to make the posts more readable and makes your link stand out
- ChatGPT seems to do a decent job with the hashtags
NOTE – ALWAYS proofread your post. ChatGPT does a very good job but some generated posts may not make sense
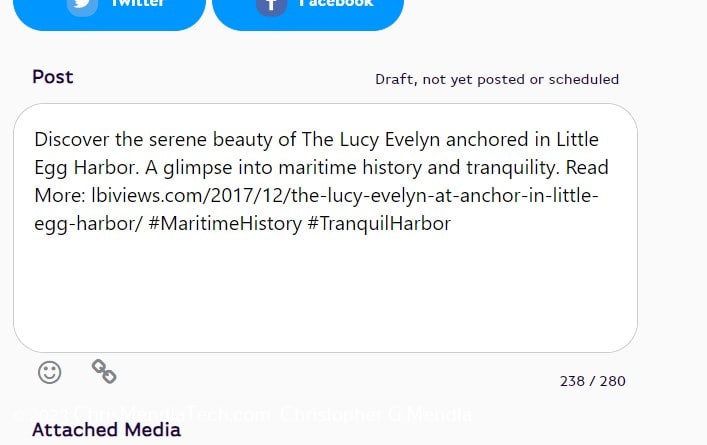
You can copy the resulting post and paste it into Kiopi
As you can see below, the line feed formatting is lost. You can simply edit the post and then add your image(s)
4. Beautifying Your Post with Featured Images
Visuals enhance the appeal of any social media post:
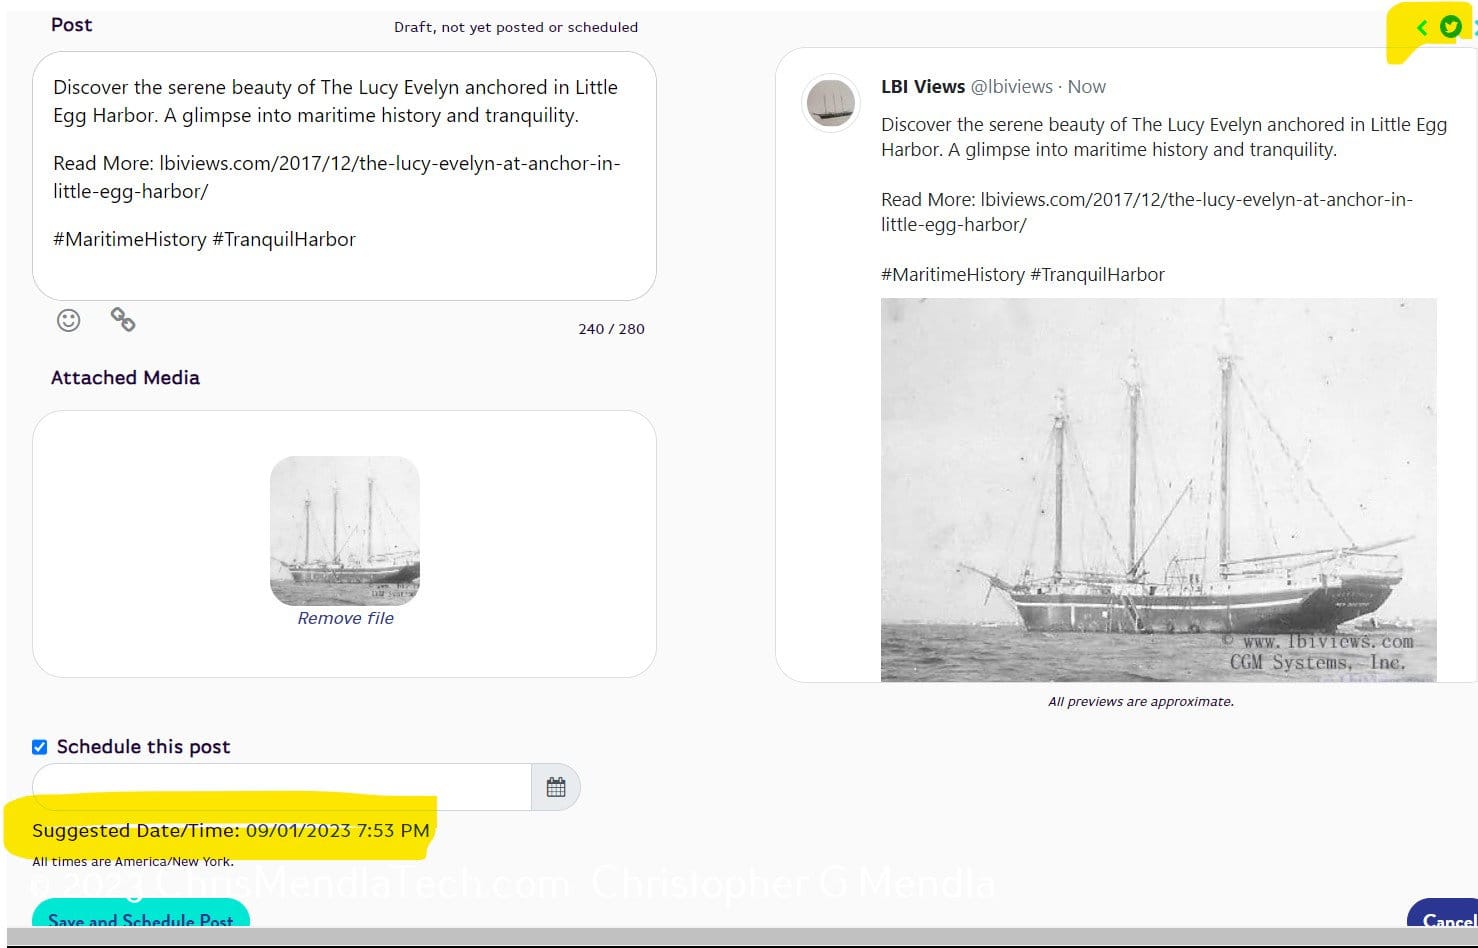
- Drag and Drop in Kiopi: If you have a featured image in WordPress, Kiopi makes it easy. Simply drag the image and drop it into the scheduler. In the image below, you can see that I used line feeds to make the post more readable and added an image.
- Note that in the top right corner, you have the ability to see previews for whatever social media platforms you indicated earlier
- You can schedule the post. If you select the suggest time/date, it will auto increment for each future post.
5. Rinse and Repeat.
For the next post, simply edit the ChatGPT message and resubmit.
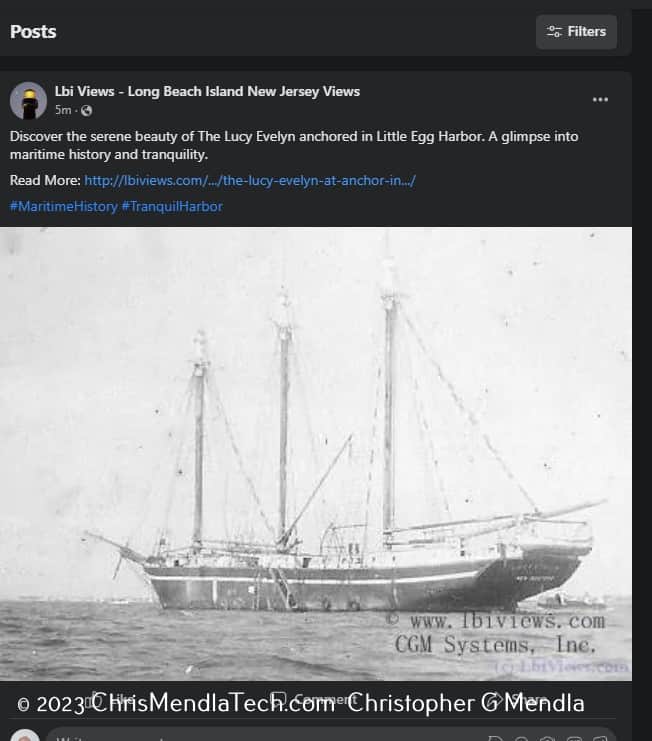
Results.
I posted this post immediately instead of scheduling it so I could show the results. Here are the actual posts to twitter and facebook.

Summary
The combination of ChatGPT, Kiopi, and a little manual tweaking allows for a seamless process to automate the scheduling and posting content. Embrace technology and make your social media management more effortless than ever
The system isn’t perfect but I found it allows for a HUGE increase in productivity over manually writing the post and adding hashtags.
At some point I will try this with V 4 of ChatGPT to see if it provides better results than 3.x
Note – The robot graphic was generated Night Cafe using SDXL 0.9 “A cartoon robot making social media posts to twitter, facebook and linkedin”